There are two kinds of bolts in the world, and the second one is why this article exists. The first kind comes out the way it was put in, with a socket and a ratchet from an EPAuto set and a few turns of the wrist. The second kind has been sitting under a fender or against a water supply line for eight winters, and it has fused itself to the threads with rust and time. It does not want to come out, and the natural reaction, leaning on the ratchet harder and harder, is exactly the move that rounds the head off and turns a twenty-minute job into an afternoon with a drill and a shattered bolt extractor.
I have broken more of those stubborn bolts than I care to count, and every one taught me the same lesson: a rusted bolt is a puzzle, not a contest of strength. It breaks free in an order of operations, not in a tug of war. You loosen the rust with oil and time, you give the tool its best possible bite, you apply steady pressure in short controlled turns, you add shock and leverage when the first attempts stall, and only then do you bring heat. I have removed seized bolts all over my house and my rental properties with nothing more than a good socket set and these five steps, no impact wrench on the bench. Here is the exact order of work, the way I run it.
The socket set that seats flush and turns every one of these steps
Every technique below starts with a socket that bites the bolt head cleanly. The EPAuto 69-piece set has the 6-point chrome sockets, the 1/2-inch drive for leverage, and the pear head ratchet to turn them, all at a price that makes a seized bolt feel like a problem your own bench can solve. It is the set I reach for first.
Amazon Check Today's Price on Amazon →Step 1: Soak the bolt with penetrating oil and give it real time
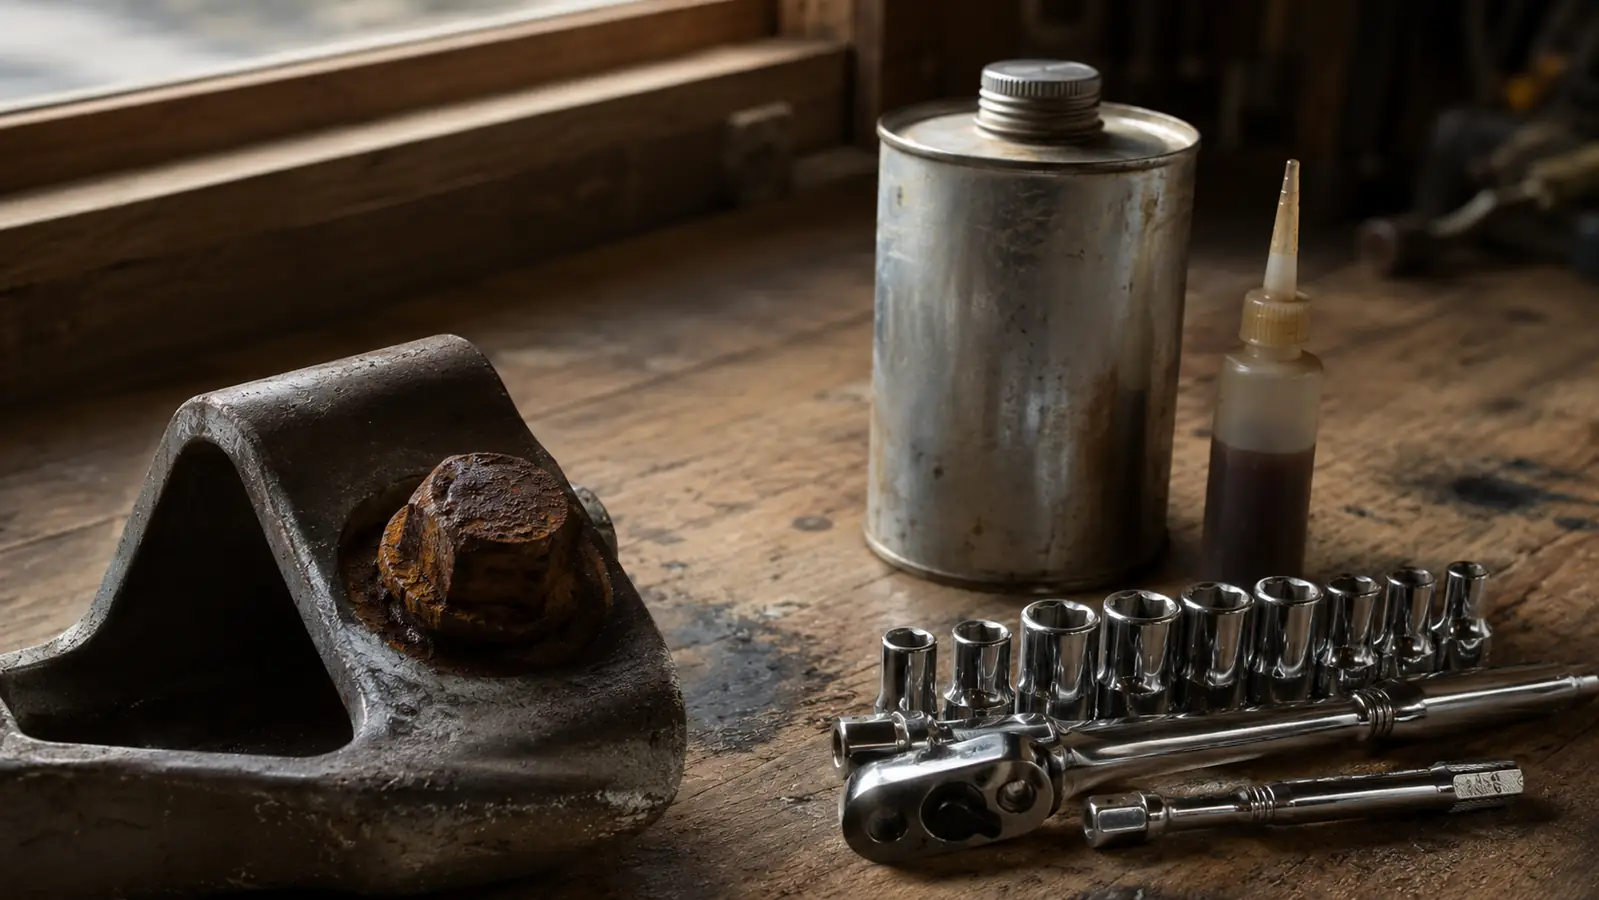
The cheapest and most effective tool for a stuck bolt is patience plus a can of penetrating oil. I use PB Blaster, though any quality penetrating oil does the job. Spray the threads where the bolt enters the metal, and here is the part most people skip: spray it again, and again, over the course of an hour or overnight. Rust forms a crust that seals the threads, and the oil has to work its way into the tiny gap between the bolt and the hole. That takes minutes at best and hours at worst, and no amount of torque substitutes for it.
If the bolt sits somewhere you can reach, work the oil in by hand first. Give the head a few light taps with a hammer, not hard blows, just enough to break the surface rust seal so the oil can wick in. Then let it sit. This is the step that separates the man who removes the bolt from the man who strips it. I have soaked a caliper bolt on Friday night and removed it with a clean turn on Saturday morning, and the job was done faster in the end than if I had come at it cold and fought it for an hour.
Step 2: Give yourself the best possible bite, before you turn anything
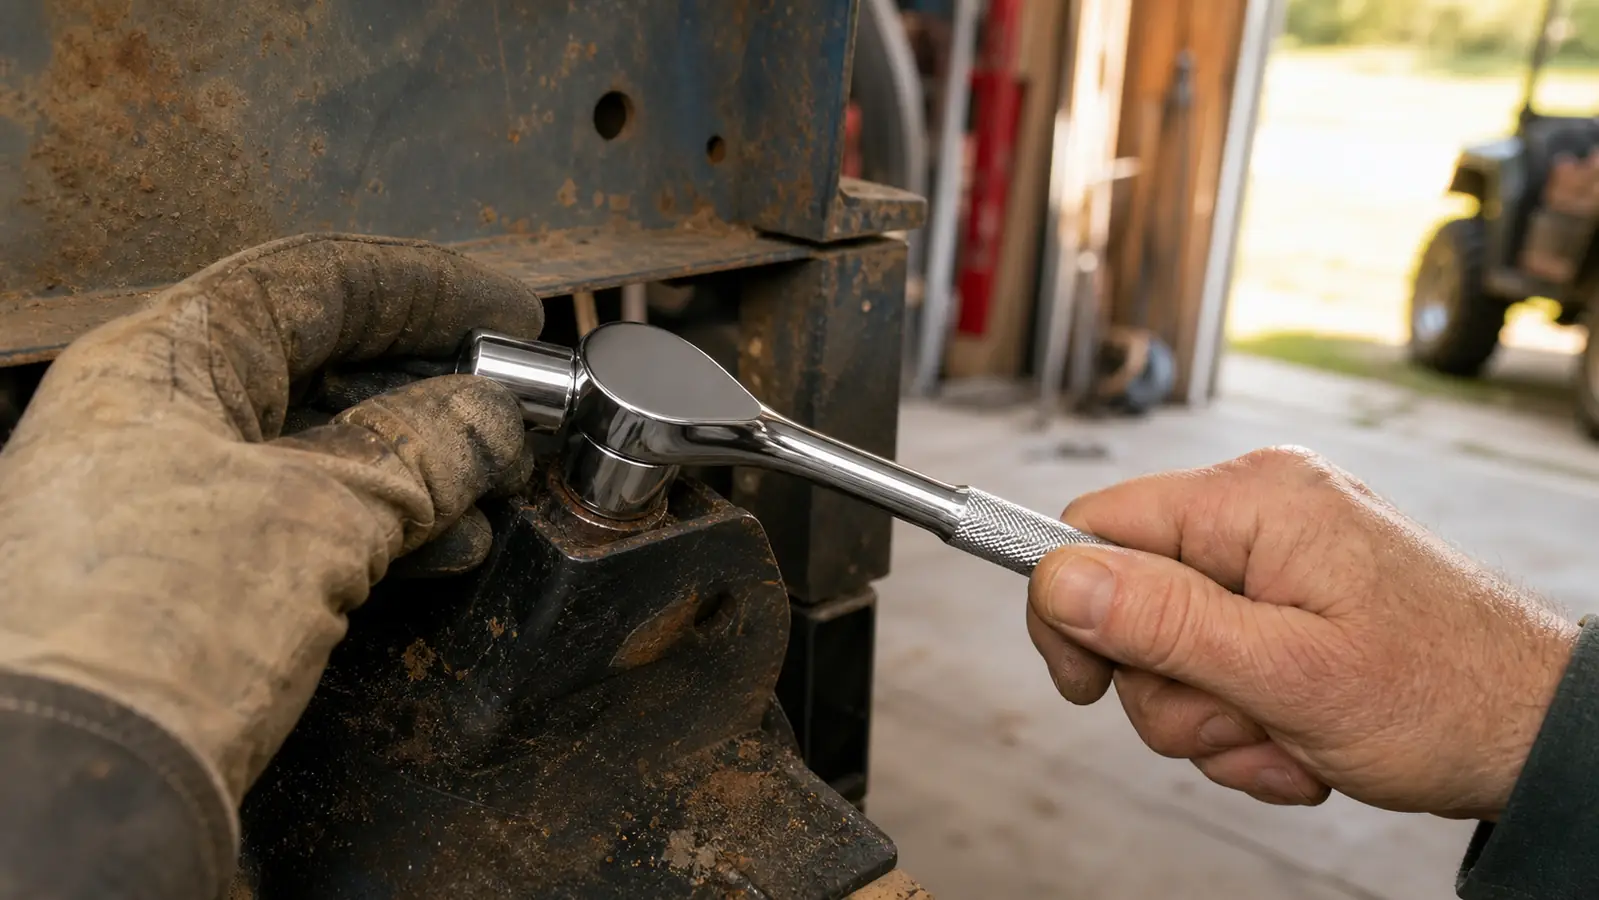
Before you apply a single foot-pound, make sure the tool is seated the way it has to be. Rounding a bolt happens when the socket does not fully engage the head, so the very first thing is to clean the head. A wire brush or a few passes to knock off the loose rust means the socket slides down flush instead of sitting on a collar of crud. A clean, fully seated socket is your best defense against every mistake that follows.
Use the correct size, and here is the honest rule: if a socket will not drop onto the head with a light push, it is the wrong size, full stop. Do not hammer an oversized socket on and hope. A 12-point socket skips and rounds a rounded head faster than a 6-point ever will, so for a tight or rusty bolt I always reach for the 6-point, which grips the flat of the hex instead of the corners. On a badly rusted head, a 6-point socket seated flush is the single biggest difference between a bolt that comes out and a bolt you drill.
Step 3: Apply steady pressure in short, controlled turns, and listen
With the socket seated and the ratchet set to loosen, apply smooth, steady pressure. The temptation is a hard, jerky yank that smears the hex, and that is the move that strips a bolt. Instead, load the ratchet with firm, even pressure, and let the bolt decide whether it moves. Often the first indication of progress is not a turn at all but a slight give under your hand, a tiny creak as the rust seal breaks, or a bit of the oil darkening as it pulls rust out of the threads.
Work in short swings, reversing a fraction after each forward turn if the bolt feels seized, which helps work the oil deeper and breaks the bond a little at a time. Keep the ratchet square to the bolt so the socket does not tilt off the head. And listen to the tool. A ratchet that starts to skip or a socket that begins to round is your signal to stop and go to the next step, not to double down on the torque. A rounded bolt is the one outcome you cannot undo cheaply, so the entire art is refusing to create one.
Step 4: Add shock and leverage, with a cheater bar as the last resort
When steady pressure stops making progress, the next tool is shock. A few sharp hammer blows, solidly on the face of the socket or the bolt head, break the rust's grip far more effectively than a slow, grinding torque ever will. Then, working into the full-size socket with your full weight behind it, many bolts that felt welded come free. This is where a set with a 1/2-inch drive and a longer handle earns its place, because the longer lever gives your hand meaningfully more purchase on the same stubborn fastener.
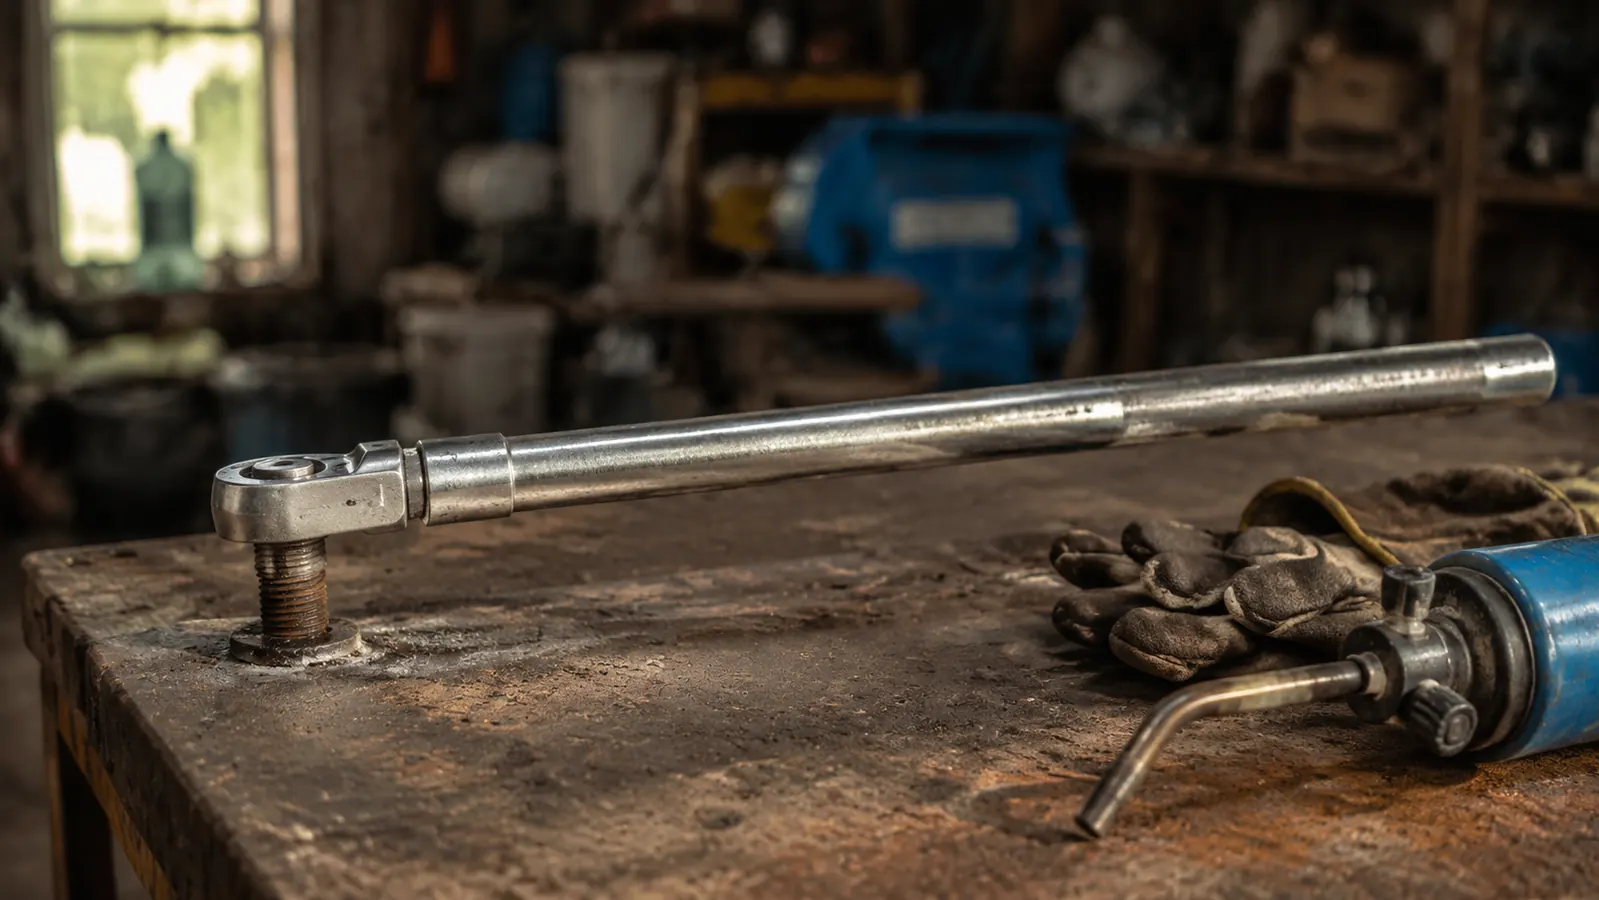
If shock and elbow grease are not enough, the cheater bar is the classic answer, a length of steel pipe slipped over the ratchet handle to extend the lever. Used safely, it multiplies your strength dramatically and will break most seized bolts loose. But I will give you the honest warning a man who has been sold to would want: a cheater bar multiplies your leverage on the bolt, and it multiplies your ability to shear that bolt off or snap a cheap socket. So this is the point where you need the tightest bite you can get, and it is why you never reach for a cheater bar with a half-rounded head or a socket that wobbles. With a flush 6-point socket and a clean head, the lever turns the bolt. With junk, it snaps the bolt.
Step 5: Bring heat, then stop before you shear the bolt
The final technique in the order of operations is heat. A propane torch applied to the nut or the surrounding metal expands it slightly and breaks the rust bond, and for a bolt buried in a casting it is often the only thing that works. Heat the base of the bolt, the metal it threads into, not the bolt head itself for too long, then apply the socket while it is still warm. Many a bolt I thought was welded has turned cleanly one heat cycle later. Give it a moment to re-seat on the head between heat and turn, because the goal is to warm the surroundings, not to melt the fastener.
Here is where I tell you the second part of the rule, which is knowing when to stop. A bolt that will not yield after oil, shock, leverage, and heat is a bolt that is about to shear, and a sheared bolt is a far bigger job than the one you are on. The honest, experienced move at that point is to accept a broken fastener and switch to the right tool for it, a bolt extractor, or to drill it out, rather than to keep adding torque until the head pops off at the worst spot. Removing a bolt cleanly includes knowing when you are one turn from making it worse, and stopping short of that is a skill in itself.
What Else Helps a Stuck Bolt Come Free
A few cheap allies sit beside the socket set and make every one of these steps easier. A wire brush and a can of penetrating oil cover the prep on almost every bolt. A short piece of steel pipe doubles as your cheater bar when you need it, and a propane torch handles the heat. A small hammer for the sharp taps is worth having in reach. None of these are specialty tools, and together they turn a seized bolt that would otherwise mean a tow or a plumber into an hour on the bench.
The one thing worth buying well is the socket itself, because every technique here depends on a socket that bites the head flush and does not round it. This is the argument for a quality set over the loose discount sockets in a bin, since a set with a clean 6-point chrome finish and a solid ratchet is exactly what survives the shock, the leverage, and the heat in this order of work. I have gone into the longer review of the EPAuto set with exactly how the chrome and the ratchet have held up over a year of jobs like this one.
And keep the penetrant cheap and on hand, not hidden in a drawer somewhere across the shop. The whole method depends on spraying the bolt before you reach for a wrench, so the oil needs to be as close as the socket tray. A rusted bolt is unavoidable on a vehicle or a property that has seen a few winters. A seized one is optional, if you give the oil time, give the tool a real bite, and work the order instead of the torque.
A rusted bolt breaks in an order of operations, not a tug of war. Oil first, a flush 6-point bite second, steady short turns third, shock and leverage fourth, heat last, and the whole time, refuse to round the head.
Work the order of operations and a seized bolt stops being an emergency
Every step here starts and ends with a socket that seats flush and a ratchet you can trust under a cheater bar. The EPAuto 69-piece set gives you the 6-point coverage and the longer drive for leverage, at today's price on Amazon. Check the current one below and give your bench the tool that turns a seized bolt into an hour of work.
Amazon Check Today's Price on Amazon →