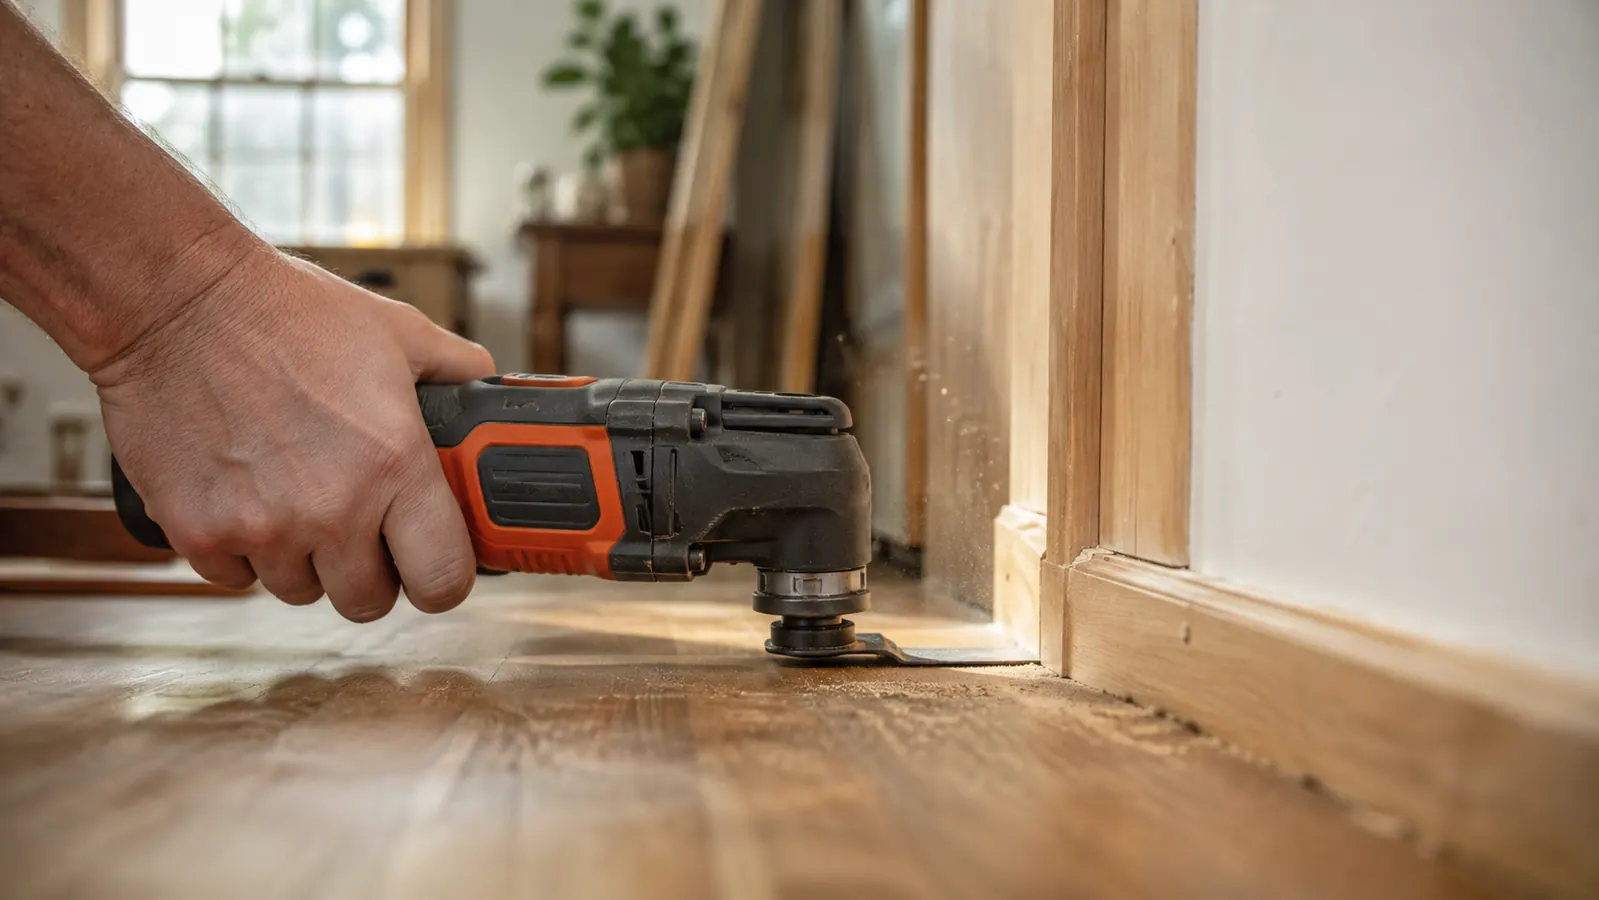
The cut that used to make me reach for a hammer and a chisel, or worse, a reciprocating saw that wanted to wander, is the flush cut. You need to take the bottom of a door jamb off to slide in new flooring, or cut a piece of baseboard perfectly even with the floor, or open a drywall box hole without going a quarter inch past your line. For years I did those jobs the slow way and touched them up with spackle. Then I stopped borrowing a neighbor's oscillating multi-tool and bought my own, the DEWALT DCS356C1, and the slow way went away. This is the technique I use now on every trim and floor job on my property, blade by blade.
Here is the honest part up front. The tool does not do the work by itself. The oscillating head just moves the blade in a tiny back-and-forth arc, a few degrees at twenty thousand oscillations a minute. What separates a clean flush cut from a scored-up door jamb is which blade you mount, how you hold the tool, and how much pressure your hands put on it. Get those three right and the cut looks like a machine made it. Get them wrong and you chip the wood you were trying to save. I have made both kinds of cuts, so let me show you the system and the blade math before I touch a single step.
The tool that made flush cuts a five-minute job instead of a Sunday afternoon
For trim, flooring, grout, and tight-corner work, a quality oscillating tool pays for itself in the first two rooms. The DEWALT 20V MAX XR I use has three speeds, an LED light, and a variable trigger so you ease in slow on a plunge cut.
Amazon Check Today's Price on Amazon →Step 1: Pick the Right Blade for the Cut You're Making
Most of the frustration with flush cuts is people using the wrong blade. There are three blades that matter and they do different jobs. A plunge cut blade is narrow and pointed like a spear tip, and it is built to punch straight down into the middle of a board. A flush cut blade is wider and flat-topped with teeth along the bottom edge, and it is what you want when you are cutting along the face of a door jamb or a piece of trim you cannot see behind. A segmented blade has teeth on one or two edges and is for tight spots and for cutting into corners where a straight blade cannot reach.
The DEWALT DCS356C1 ships with a set of blades in its kit, which is one of the reasons I switched from my neighbor's bare tool. If you are buying blades loose, get the longest plunge cut blade you can find for scoring deep, and the widest flush cut blade you can find for riding flat against the vertical face you are protecting. The longer and wider the blade, the less the arced oscillation bites sideways into the wood beside the cutline.
Mount the blade with the quick release rather than fumbling a hex wrench. Line the blade up so its cutting edge is square to the work, then tighten it and give the tool a brief run in the air to make sure the blade is not wobbling. A seated blade runs true; a loose one carves a groove wider than the cut and ruins the flush line before you ever touch the wood. That check takes ten seconds and saves you a refinished door stop.
Step 2: Mark Your Line and Set Your Depth
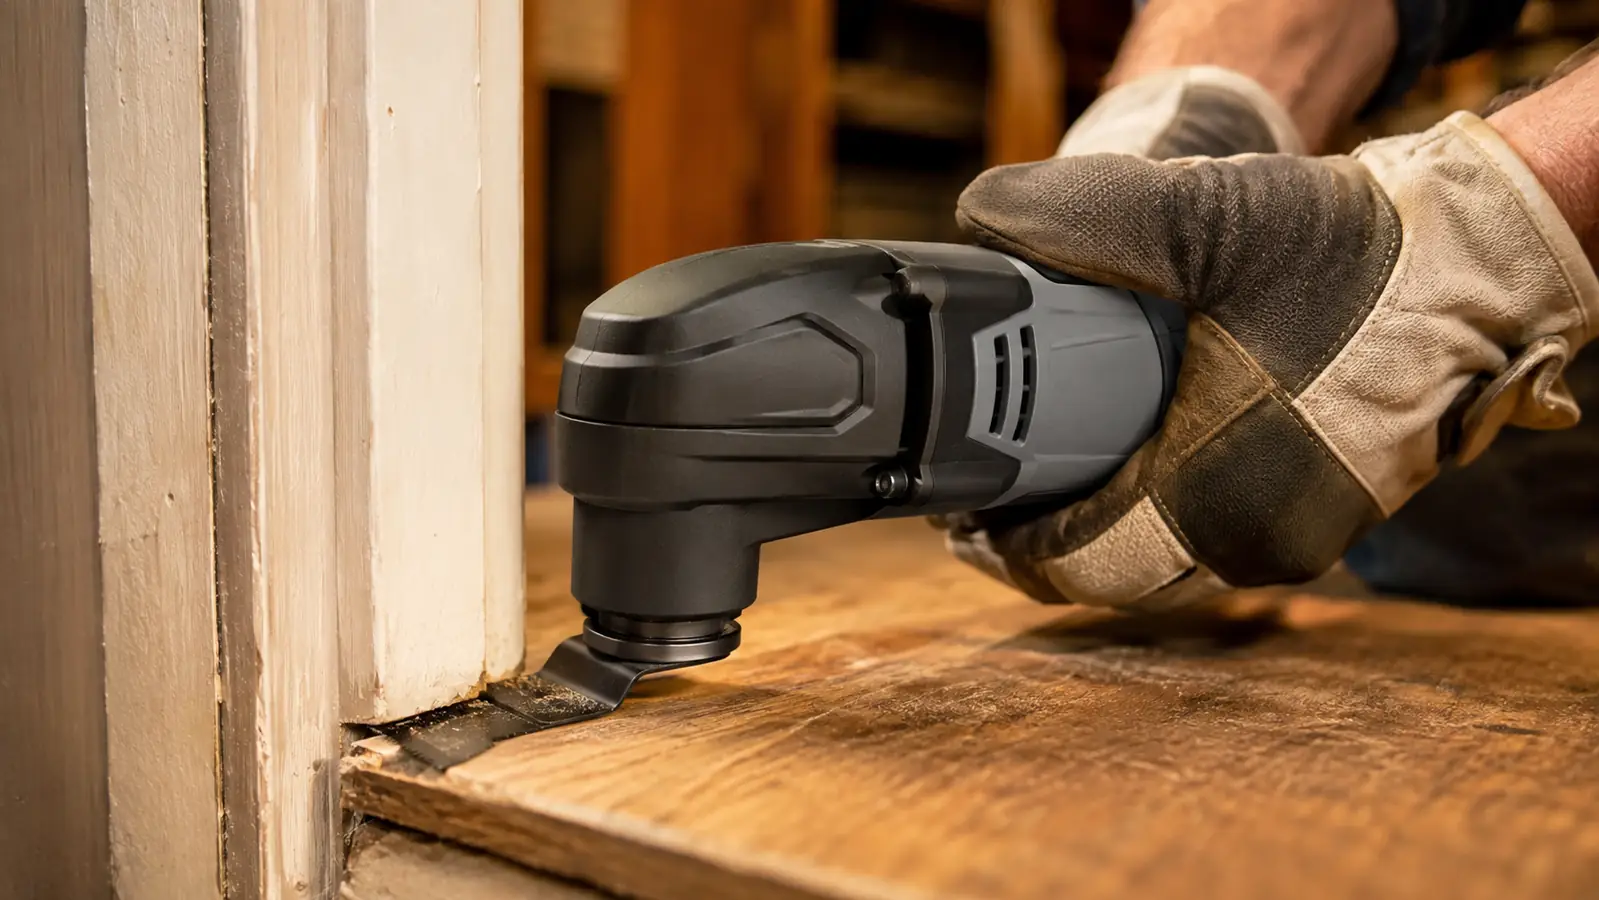
A flush cut is only as straight as the line you give it, so take the time to mark it. For cutting a door stop or a piece of trim, lay a flat object that matches the depth you want, hold it against the surface, and run a sharp pencil along it. A scrap of the flooring you are installing makes a perfect gauge. For a bottom of a door jamb cut, mark the line with a utility knife score first. The scored line gives the blade a channel to bite into and stops the wood fibers from tearing out along the face.
Set your depth by controlling the trigger, not by some switch you cannot see. On a variable speed tool like the DCS356C1, you ease the trigger in and the head slows or speeds with your hand. For the first pass on a scored line, run it slow. Once the blade is buried in the channel, you can open the trigger up. What you are really managing is how fast the blade slices versus how much heat it builds. Wood burns and dulls blades fast when you push a hot blade through it.
Step 3: Make the Plunge Cut With Patience, Not Force
The plunge cut is where most people go wrong, because they lean on the tool. Lean on an oscillating tool and it binds, the blade heats up, and it carves a ragged slot. The whole trick is contact, not pressure. Start with the blade tip on your scored line at a shallow angle, right around twenty degrees. Let the blade start its arc, then rock the handle down slowly until the blade faces the wood dead flat. The combination of a low angle start and a slow tip-down lets the blade find its own channel instead of fighting it.
Keep a light, steady hand pressure and let the oscillation pull the blade through. When you meet resistance, back off the trigger, not your hand. Lifting the tool entirely clears the cut and lets it cool, and that matters on hardwood and on pressure-treated lumber. I cut a lot of oak baseboard on my place, and the difference between a clean plunge and a charred slot is always going to be me backing off instead of shoving harder.
For a floor-to-floor flush cut, like notching a finished plank against a door jamb, build the plunge in stages. Cut down along the width of the board in two or three passes, each a little deeper, rather than one deep plunge. Each pass clears the slot of sawdust so the next one starts clean. That method keeps the cut line crisp and does not blow out the back of the cut, which is exactly the kind of tear-out that shows up at the edge of your new floor. On a door jamb cut you are working at floor level, so get low or kneel to keep your eye on the line; cutting from a standing angle makes you drift. And keep the trigger steady through the final pass rather than feathering it, because a fluttering speed leaves chatter marks on the cut face. A smooth, even hand beats speed every time.
Lean on an oscillating tool and it binds, the blade heats up, and it carves a ragged slot. The whole trick is contact, not pressure.
Step 4: Ride the Flush Cut Flat Against the Surface You're Protecting
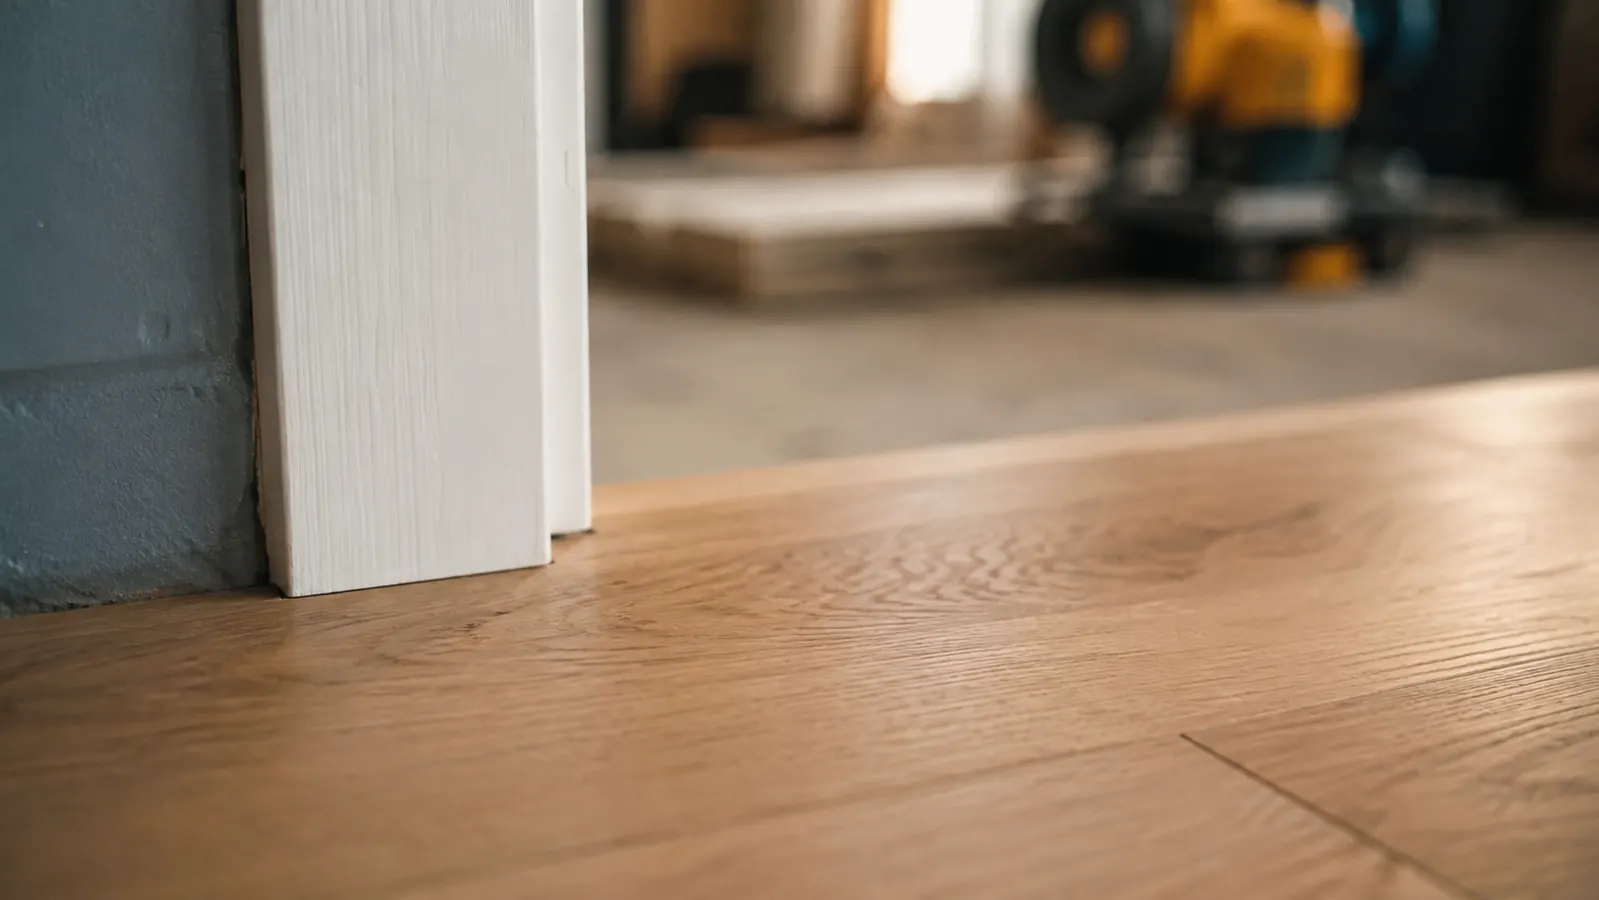
A true flush cut means the blade rides flat against the surface you do not want to damage. You press the flat side of the blade body against the door jamb or the finished floor, and the teeth on the end do the cutting. The secret is holding the whole tool parallel to that surface. If you tilt the handle even a few degrees, one end of the blade digs into the face you are trying to save and scores it. Keep the tool body level, and let the flat face of the blade be your guide.
This is where the wider flush cut blade earns its money. A wide blade spreads across the face, so a slight wobble in your hands does not translate into a deep gouge. It also lets you see exactly where the teeth meet the work. On the DCS356C1, the LED light shines right on the front of the blade, and that one detail has saved more than one jamb from my own tremor on a long reach. Work the cut slowly along the line, sliding the tool rather than sawing, and let the blade travel the whole width before you pull it free.
When the cut is done, resist the urge to yank the tool out sideways. Lift straight up off the work while the blade is still, then let the blade stop before you set the tool down. Yanking a moving blade sideways is how people gouge the wood or snap a blade at the mount. A clean exit is the same discipline as a clean entry: slow, flat, and under control.
Step 5: Finish the Edge So the Cut Can't Be Seen
A flush cut leaves a sharp edge and a little fuzz of fibers where the blade exited. Five minutes of finishing makes the joint look factory made. Run a medium sanding block along the cut line to knock off the fuzz, going with the grain, and use a small triangular sanding pad on the oscillating tool itself to reach into the corner that a block cannot. The triangular head on the multi-tool is the same back-and-forth motion, and it sands a tight inside corner flatter than your fingers ever will.
If you are working on bare wood that will be finished, wipe the edge clean and inspect it under a raking light before you call it done. If you are cutting under a baseboard or a jamb that stays covered, a quick pass with a chisel takes off the last sliver of torn fiber. Either way, the goal is a line so clean that the only way to tell it was cut is to look for the joint on purpose. One thing I learned the hard way: never cut a wet or freshly painted piece of trim with an oscillating tool on high speed, because the heat lifts the paint off along the cutline and leaves a white edge you have to touch up. When I work on painted trim in my rentals, I drop to a lower speed and back off the trigger sooner. The slower you go on finished wood, the less that edge shows.
What Else Helps
A few extras turn a good flush cut job into a fast one. Keep a spare plunge blade and a spare flush blade mounted or within arm's reach, because a dull blade is the most common reason a clean cut starts wandering. A shop vac with a narrow hose held near the cut pulls the sawdust before it cakes into the blade gullets. And on any job where you are cutting near finished flooring, lay a drop cloth and tape the cut line, because the vibration will walk sawdust and brass chips everywhere.
The blade cost is worth a straight word. Oscillating blades wear faster than circular saw blades, and a good one is a few dollars each. If you use the tool on every project like I do, budget a small pack of blades twice a year. That is the honest accounting that people skip when they talk about how the multi-tool saves money. Buy good blades, change them before they smoke, and the tool stays worth every cent of its price.
On my place I keep the DEWALT DCS356C1 on the same battery platform as my drill and driver, so one set of chargers runs the whole kit. That is the kind of thing you only appreciate when you have owned two different battery systems. One platform, one set of spares, and a tool that will still be cutting the same clean flush lines in five years.
One tool that does trim, grout, drywall, and tight corners without breaking the bank
If you are tired of crowbars and spackle on every trim job, an oscillating multi-tool belongs on your bench. The DEWALT 20V MAX XR runs on the same batteries as your drill and comes with blades to get you started.
Amazon Check Today's Price on Amazon →