
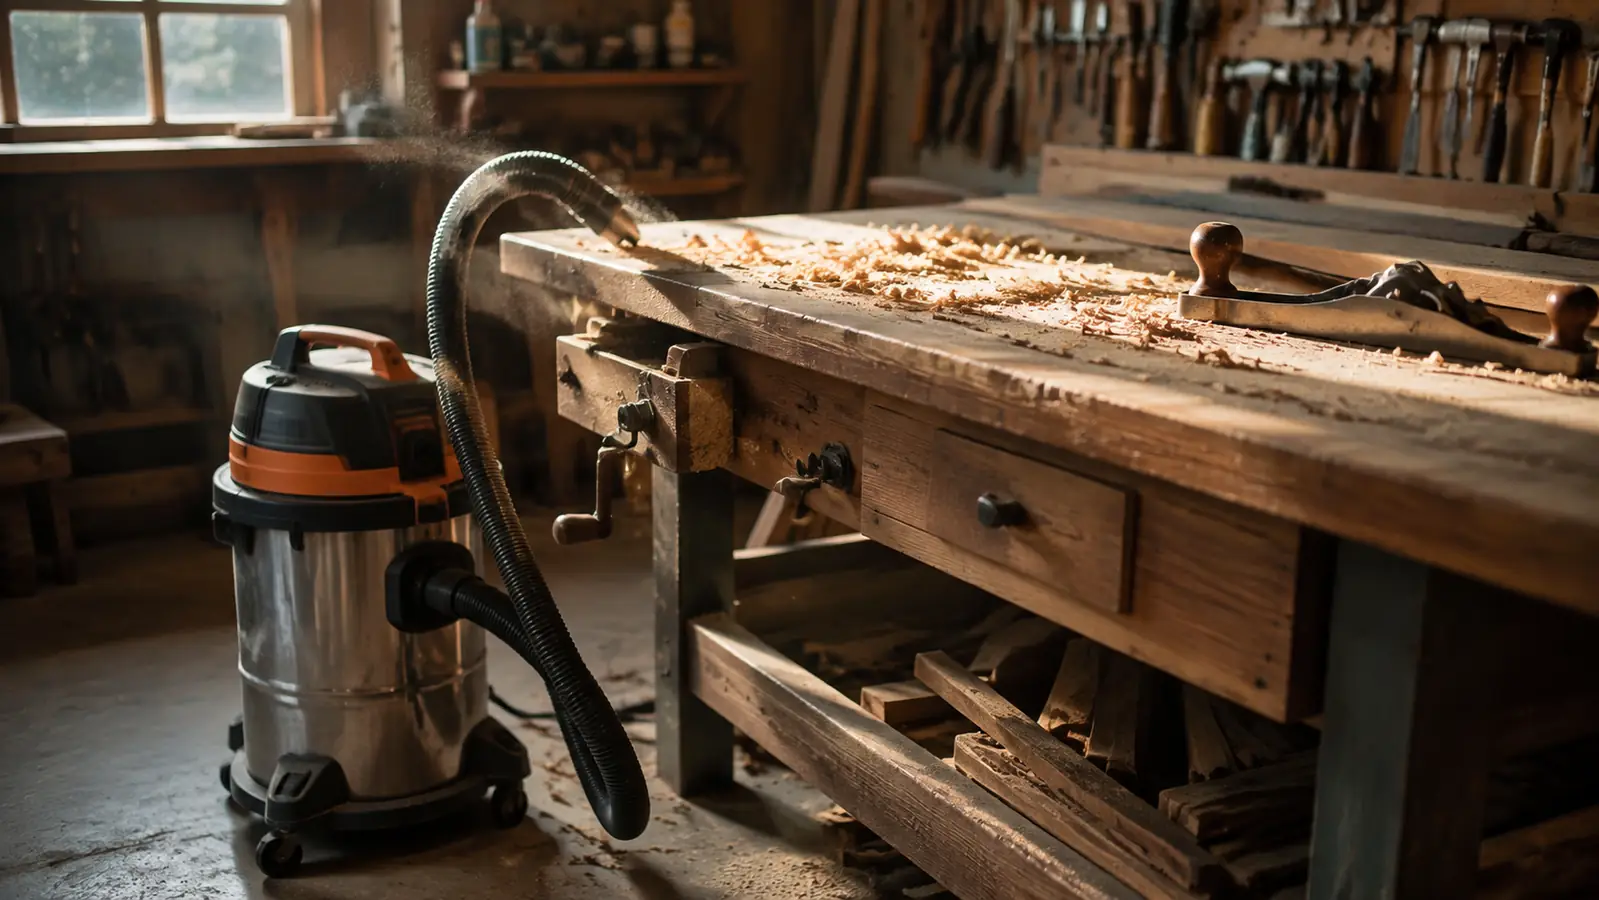
The shop is where two of my habits collide. One is keeping the place clean enough that I do not trip over a length of quarter-round while carrying a full sheet of plywood. The other is not blowing forty minutes of a Saturday afternoon on housekeeping when I could be turning wood or wrenching on a rental. A Stanley wet/dry vac is the tool that reconciles those two, but only if you use it in the right order. Run it the way I do and a cold, messy shop reads clean in about twenty minutes, and you never throw your back out picking up the floor by hand.
Here is the honest framing up front. You already know a shop vac beats a broom for ninety percent of this work, because a broom just pushes dust into the corners and dares you to admire the pile. The part people get wrong is the setup, not the machine. The same vac that picks up a flooded basement on Tuesday can be set for dry shop dust on Saturday, and the difference is one five-minute change at the filter. Get that step right and everything after it is just moving the nozzle. Get it wrong and you will fight a clogged filter the whole way.
The shop vac I'd set up and finish a cleanup with in the same afternoon
The Stanley 6-gallon wet/dry vac has the suction, the six-gallon drum, and the widest range of attachments for the money, and it doubles as the machine you grab when a water heater lets go. It's the one I reach for every time I close up the shop.
Amazon Check Today's Price on Amazon →Step 1: Set the machine up for dry duty before you touch a nozzle
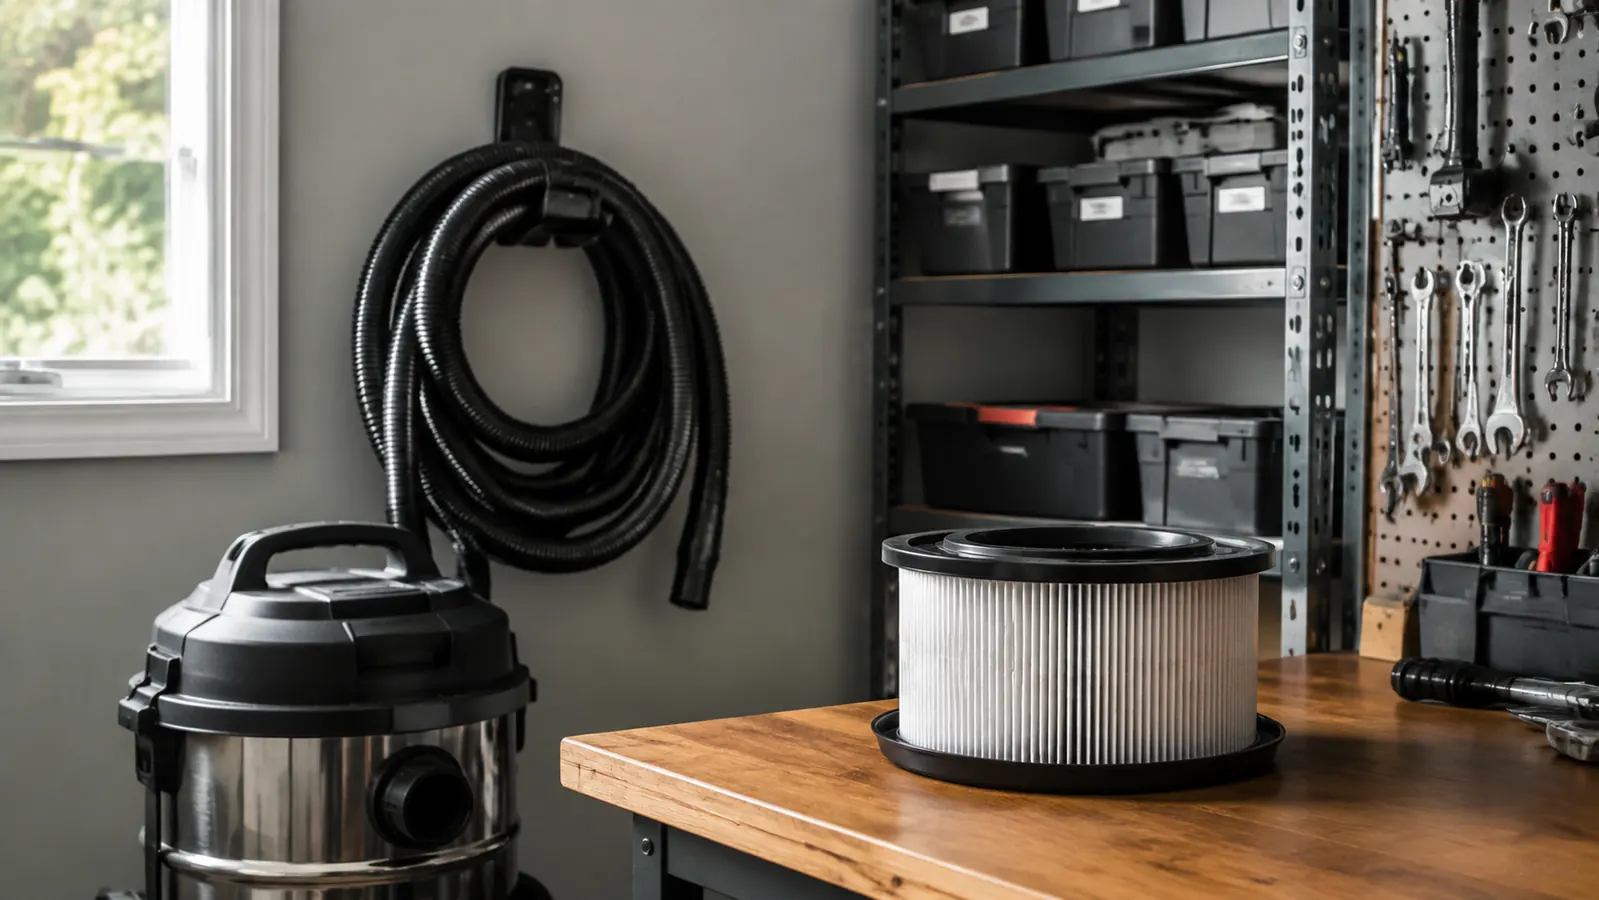
The single most important step of a dry cleanup happens before you even aim the hose. Look at the top of your vac and you will see it is built for a filter: a pleated cartridge, usually gathered in a paper or cloth ring, that sits over the motor intake. That cartridge is what keeps the micron-fine dust from blasting straight through the fan and back out into the room, which is how a shop full of dust storms into the air the moment you turn the motor on.
So the rule is plain: if you are picking up anything dry, the filter cartridge goes on, every time. The Stanley is no exception. Seating it takes about a minute, and it sits against the lid with a hold-down that keeps it from rattling loose mid-job. What you are doing by installing it is the same thing you do before any good job: preparing the surface and the tool for the work, instead of starting and hoping.
This is also the moment to check the hose. Flick through it with your thumb to clear any stuck shaving before you start. A clogged hose is the reason a shop vac sounds like it is working hard and picks up nothing, and clearing it takes twenty seconds now instead of stopping you mid-floor later. Fast cleanup is a series of small setups done in the right order, so that no step has to be redone.
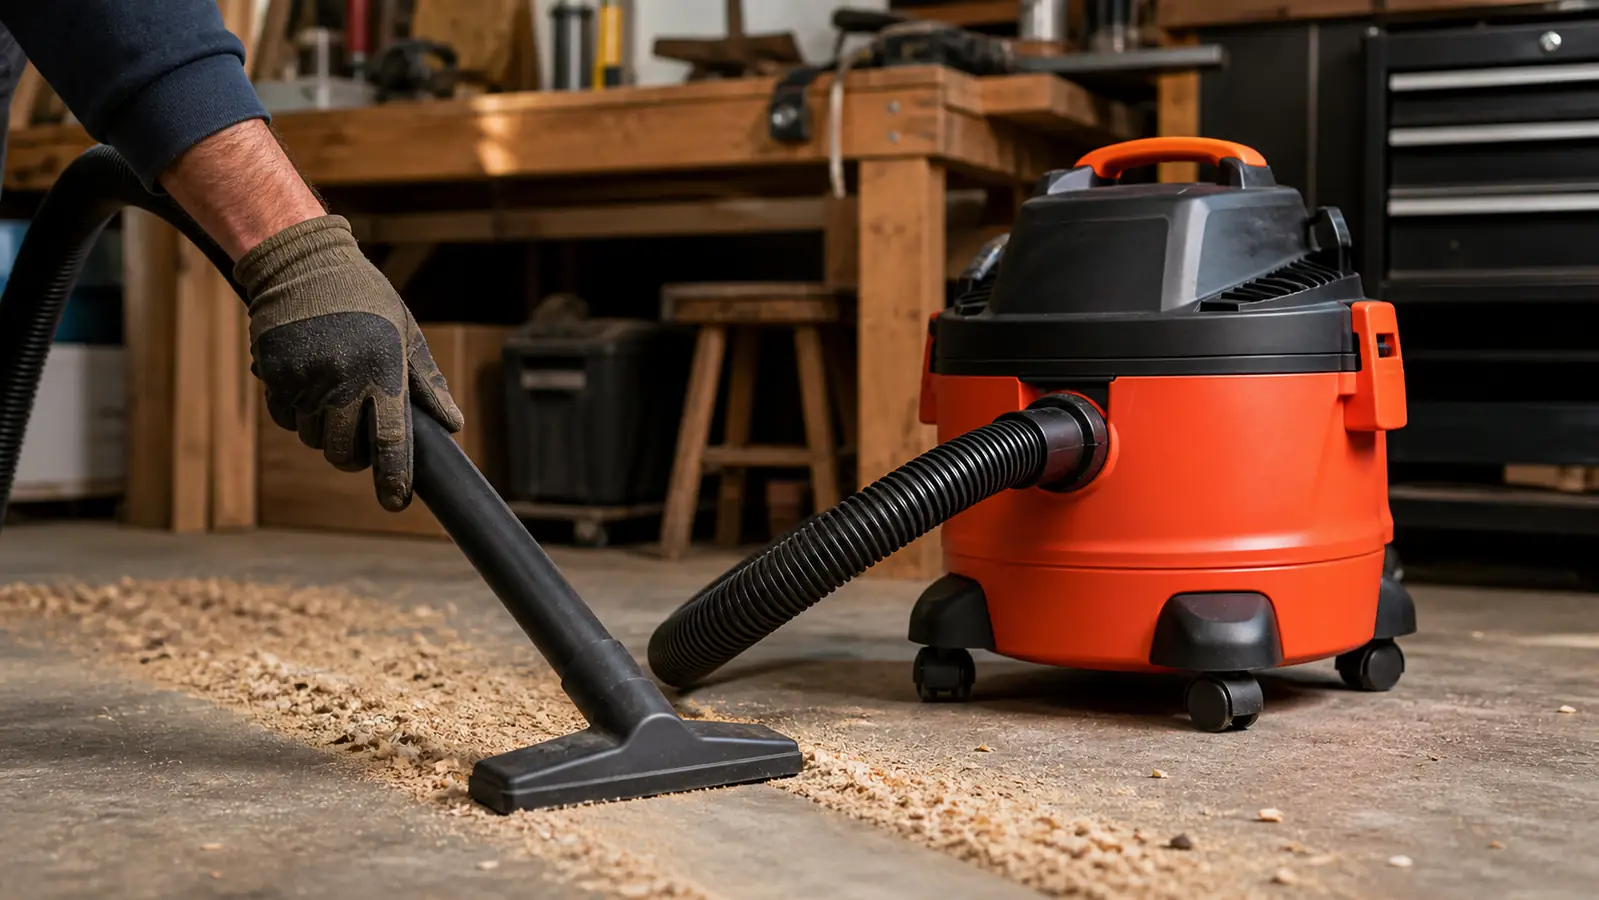
Step 2: Work top-down, benches and machines before the floor
Almost every workshop mistake I see in cleanup starts with someone doing the floor first. It feels like the obvious place to start because the mess is right there. But the bench, the table saw top, and the drill press catch the dust, and the moment you brush any of those off, it all migrates down to the floor you already cleaned. Working top-down is the difference between cleaning the floor once and cleaning it twice.
Start with the high, flat surfaces. Keep the crevice tool near at hand for the paths between the workbench slats and the channels in the table saw, where a flat nozzle simply will not fit. Then go to the tops of the machines and the tops of the cabinets, and blow or brush the larger shavings down onto the bench surface where the floor nozzle can chew through them. For the bench itself, the wide utility nozzle does in one pass what a hundred wipes of a rag would do, without grinding sawdust into your finishes.
The reason I move this way, and tell every homeowner the same, is that gravity is doing half the work if you let it. Your job is to sweep the mess only downhill, once, instead of pushing it around in circles. By the time the high stuff has been knocked to the floor, the floor is carrying a single concentrated mess, and one pass of the floor nozzle handles it. That is the whole trick to a twenty-minute cleanup: never pick up the same dust twice.
Step 3: Hit the floor with a wide nozzle, not the crevice tool
The floor is where most people reach for the wrong tool and then wonder why it takes forever. The skinny crevice tool is built for cracks and corners, and it is a miserable floor cleaner because it moves a pencil-width of dust with every pass. The flat floor nozzle, the one that looks like a wide squeegee turned on its side, is the actual machine for this job. It lets the vac take a strip of floor several inches wide, so a full shop floor becomes a few long passes instead of an afternoon.
Use long, slow, overlapping strokes, the same way you'd mop. Slower is faster here, because a fast, hurried pass just skims the top of a pile of sawdust and leaves the compressed layer underneath.
Start at the far wall and work toward the door so you are not walking across ground you already cleaned, and let the wide passes gather the biggest piles first. When the visible stuff is gone, go back over the floor once with the same nozzle, slower, and you will be surprised how much fine dust the first pass only stirred up. That second, slow pass is what separates a floor that looks swept from a floor that is actually clean enough to roll a tool chest across without grit under the wheels.
Step 4: Use the right moves for metal, screws, and filings
Here is the step most people skip and then pay for later. If you work metal in the shop, or you have ever dropped a tray of screws, the wet/dry vac will happily swallow them, but it will also kick them around inside the drum and, if the filter is not protected, hammer them against the pleats. Fine filings and metal dust in particular are hard on a dry filter, and a sharp screw can tear a paper cartridge.
The honest answer is that for small amounts, a wet/dry vac is fine, just keep an eye on the filter and empty before it gets full. But for a real pile of filings or a spilled box of fasteners, the better move is often a magnet or a magnetic pickup tool ahead of the hose. Run the magnet over the floor first, lift the metal out of the equation, and let the vac handle the sawdust and shavings it is actually best at. You will save the filter, save the hassle of a stuck screw clattering in the drum, and get the job done faster.
And this is the place to say the obvious thing about the metal rule. A typical household shop is not producing the kind of sparks and chips that warrant a fire-rated, spark-resistant vac. But before you vacuum up anything that could be hot, like weld spatter or sharp metal that has been ground, let it cool and think about it first. That is not scaremongering, it is the same caution you bring to any tool with a motor.
Step 5: Empty it, clean the filter, and store it ready to go
The cleanup is not finished when the floor is clean. It is finished when the machine is ready for the next job, and that next job might be the flooded basement that arrives without notice. A wet/dry vac that lives in the shop empty and filter-clean is the machine you grab in the thirty seconds a leak gives you. A full one is a paperweight with a motor.
Empty the drum into a trash bag before the level gets near the intake, because a full drum loses suction before you see it. Then knock the dry filter against the side of the drum outdoors or over a waste bin to shake the lodged dust loose, and if it is badly clogged, run it under a hose and let it dry fully before it goes back on. Seating a clean, dry filter takes a minute on the Stanley. That minute is what protects the motor the next time you use it.
Finally, give the machine a home on the wall. A wet/dry vac that lives shoved under a bench gets its hose kinked, its wheels buried, and its handle, frankly, ignored. Hang it, or park it by the door with the hose coiled on a hook, and the twenty-minute cleanup stays twenty minutes, because you are not spending the first five digging it out from under the chop saw. A tool that is easy to get to is a tool you actually use.
What Else Helps a Shop Stay Clean
The vac is the heavy lifter, but a few cheap allies keep it from working harder than it has to. A broom and dustpan still earn their place for the five minutes a day when dragging out the hose is overkill. A small magnetic tray beside the drill press and the workbench catches the screws and washers before they ever hit the floor, which is cheaper than the time you will spend fishing one out from under the bench later. And a squeegee nozzle or a flat squeegee for the wet side means the same vac that picked up the sawdust on Saturday is ready to push floodwater toward the door drain on the day it matters.
The one upgrade worth considering on any budget wet/dry vac is a felt-lined or fine-dust filter bag, which traps the really fine dust that a cartridge alone lets through and keeps the drum dramatically cleaner between emptyings. It is a small add-on that changes how often you empty. I have used the Stanley this same way for years, with the longer review laying out exactly what has held up and what has worn down.
And keep a spare set of consumables on the shelf: a spare filter and a spare hose if you can find one that fits. When a filter clogs mid-cleanup on a Saturday, a spare means you finish the job instead of improvising with a foam pad and a prayer. That is how you buy once instead of buying in a panic.
Cleaning the floor first is how you clean it twice. Top-down, slow passes, and a clean filter are the entire difference between a twenty-minute cleanup and a lost afternoon.
Set the machine up once and every cleanup from here on is the same order of work
I've run this same Stanley 6-gallon wet/dry vac at my own place and around my rental properties for years, and today's price on Amazon moves around week to week. Use the box below to check the current one before you commit.
Amazon Check Today's Price on Amazon →