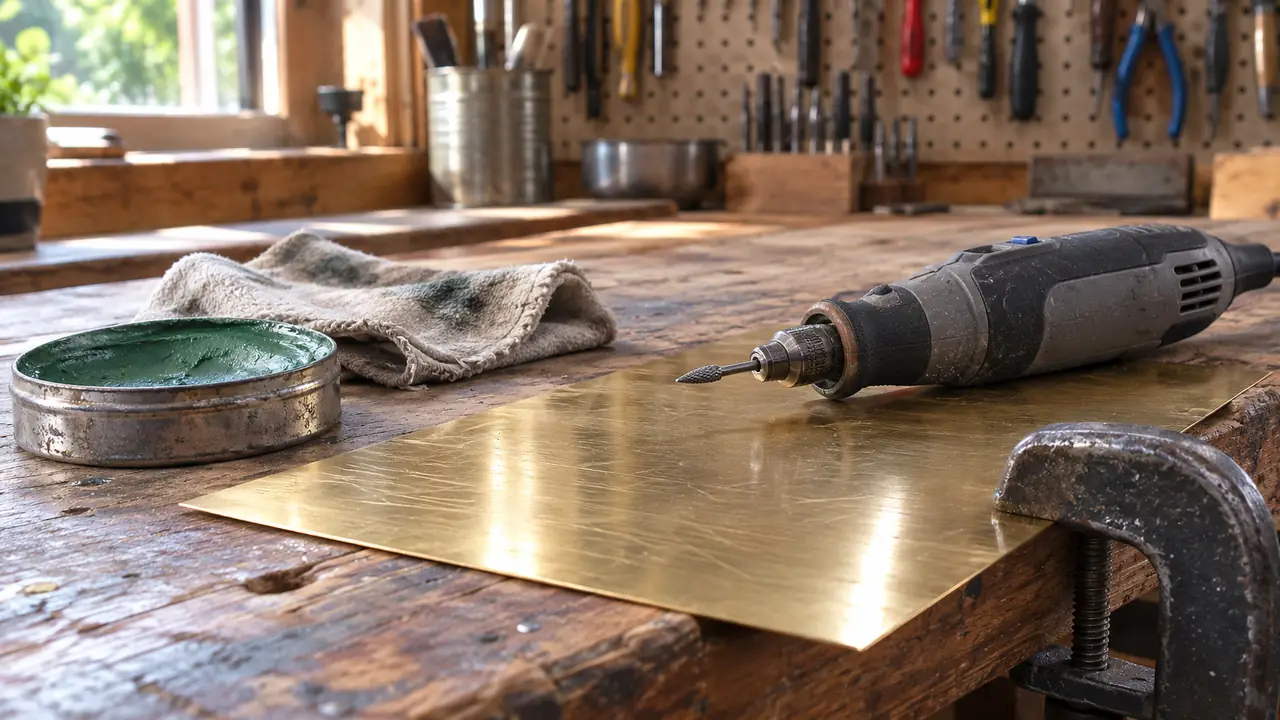
I can date the exact moment I stopped treating my rotary tool as an overgrown screwdriver attachment. It was a Saturday, and my wife handed me a flat brass plate she wanted engraved with the year we bought the house. I had owned a Dremel for months and used it mostly for cutting and sanding. The idea of drawing a clean line into metal with it felt like a skill I did not have. So I did what I always do, I broke the job into steps, practiced on scrap, and did not touch the good plate until I could do it blindfolded. By the end of that weekend I had engraved the plate, then polished it to a shine that looked wet. That is the whole pitch for this guide: engraving and polishing are not talents, they are a sequence of steps you can learn in an afternoon on a scrap coin.
Here is the honest framing up front. Most people buy a rotary tool for the cutting disks and the sanding bands, and never discover that the engraving bit and the felt bob are the two accessories that justify the whole machine. The difference between a scratch you make in metal and an engraving you are proud of comes down to speed, pressure, and bit choice, all of which you control. Polishing is even simpler once you stop dragging a single spinning wheel at high speed and expecting a shine to appear out of nothing. You do not need a fancy bench grinder for either job. Any rotary tool with a variable speed dial, and the Dremel 4300 is the one I trust on my bench, will do both.
The rotary tool I'd engrave and polish with for the next ten years
The Dremel 4300-5/40 has the variable speed dial you need for both jobs, the EZ Twist collets that make bit changes painless, and a cord so you never hit battery sag mid-stroke. It's the one I reach for every time I have metal in a clamp.
Amazon Check Today's Price on Amazon →Step 1: Choose the right bit and set a sensible speed
Everything in this craft starts with the bit, because a rotary tool does not cut with the motor, it cuts with the shape of what spins. For engraving on metal you want a tungsten-carbide bit, most often a small ball or a cone, available in several diameters. My rule of thumb is to match the bit to the line you want: a 1/32-inch ball for fine detail and lettering, a slightly larger cone for bolder grooves and borders. The kit's wood and fiber bits will wear out fast against metal, so buy the dedicated carbide engraving set and treat it as the consumable it is.
Speed is the second half of the setup, and it is where beginners wreck their first attempt by going too fast. The temptation is to run the tool at full power like it owes you money. Resist it. For engraving on steel, brass, or copper, set the variable speed dial low, in the 5,000 to 10,000 RPM range, and hold the tool like a pen. At high speed the bit skates off the surface and the heat builds, and you get a feathered, wobbly cut instead of a clean V. Low speed and light pressure give you control, and control is the entire skill.
Secure the work too. A loose piece of metal under a spinning carbide bit is a recipe for a ruined engraving and a nicked finger. Clamp the plate flat to the bench or hold it in a small vise with a scrap under it. You cannot draw a steady line into a piece that slides with the bit. Five minutes of setup here saves you from redoing the whole piece.
Step 2: Mark your pattern before the bit ever touches metal
The mistake that separates a professional-looking engraving from an amateur one is not drawing skill, it is doing the drawing on paper first. Sketch your lettering or design on a piece of paper, get the spacing and size the way you want, and only then transfer it to the metal. A design that looks fine sketched small can sprawl embarrassingly across a plate, so mock it up at full size first. This is the same discipline as marking a cut before you pull the trigger on a saw, and it never wastes a minute.
To get the pattern onto the metal, the cleanest method is a thin layer of layout fluid or even a strip of painter's tape drawn across the surface, then a pencil line or a scribe traced onto it. The tape not only shows your pencil mark on a dark metal like steel or a shiny plate, it also protects the finish from the accidental first scratches every beginner makes. Keep your lines crisp and even. The engraving bit is going to follow exactly what you traced, so the quality of your pencil line is the quality of your finished engraving.
If your design is symmetric, lettering especially, center it the way you would hang a picture: measure in from both edges, mark the midline, and build the words out from it. Nothing announces amateur in ten feet like engraving that sits crooked on the plate. Take the thirty seconds to square it up and you will be glad you did when the piece is mounted and every visitor reads it.
Step 3: Engrave with light pressure and let the bit do the cutting
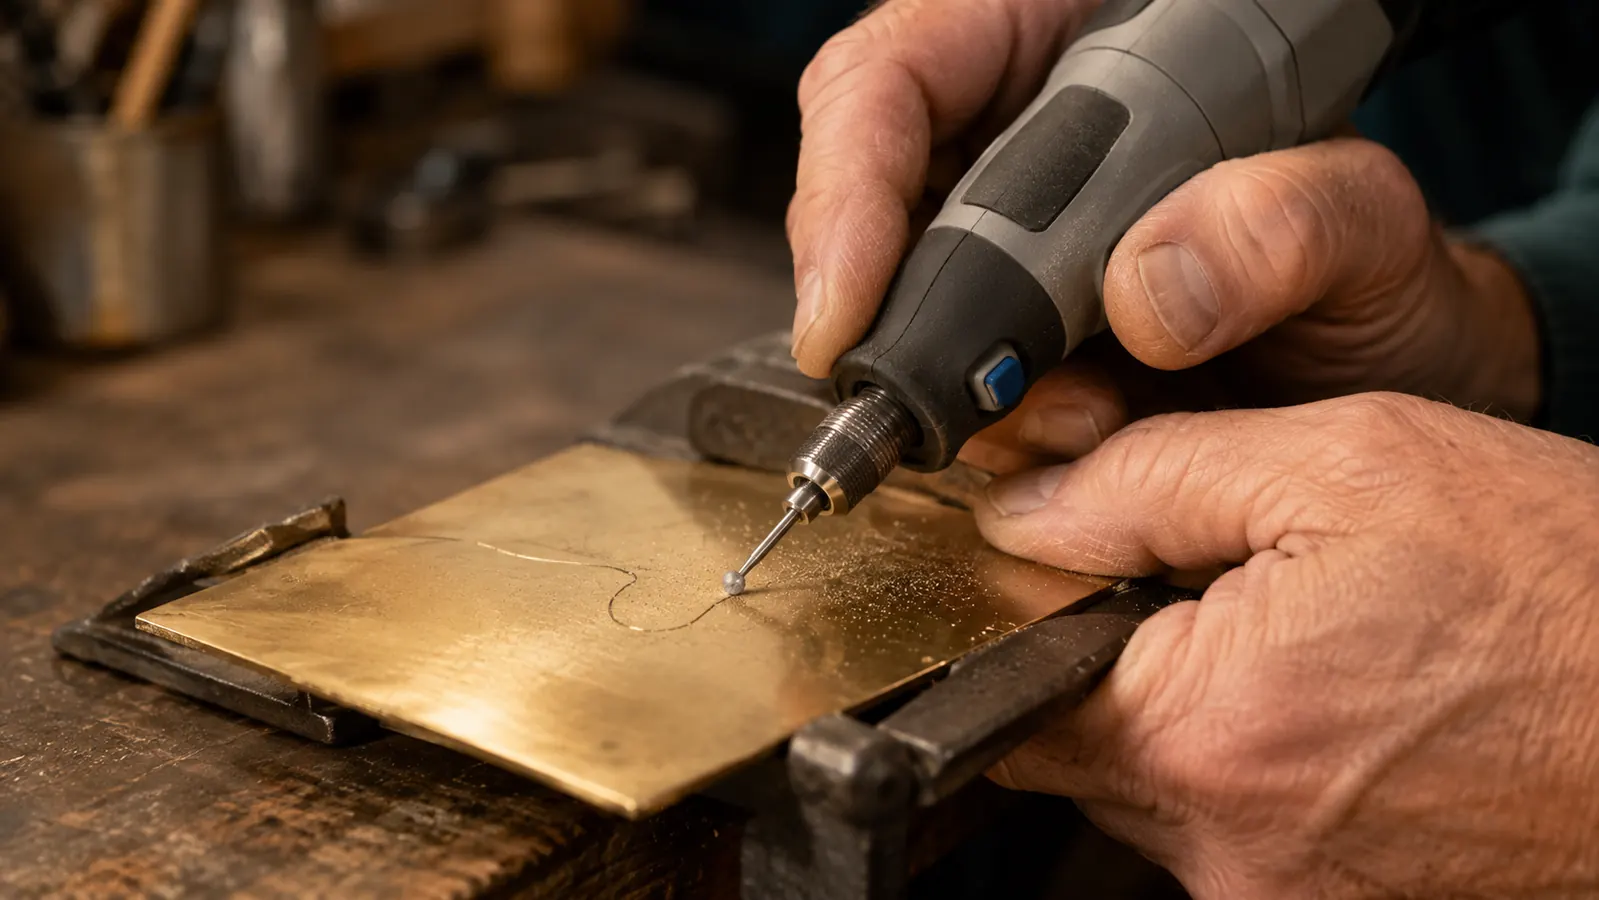
Now the bit touches metal. The correct technique is almost embarrassingly gentle. Rest the ball of the bit on your line, apply just enough pressure to feel it bite, and move the tool along the pencil mark at a steady speed. Do not bear down. Pushing hard does not cut deeper, it makes the bit fight you, climb, and leave a rough, wider groove than you intended. The carbide bit removes metal on its own at low speed; your job is only to steer it.
The single best trick I learned is to engrave the same line twice. The first pass marks a light groove and defines your path. The second and maybe third passes, always with the same light pressure, deepen the cut to a clean, uniform V. This is how you get crisp lettering instead of a shaky single gouge, and it is far easier to correct a shallow first pass than to undo a deep mistake. If you wander off the line, do not try to carve your way back, you will only make it worse. Finish the pass, then come back and tidy the edge lightly.
Work the corners of lettering by rotating the tool rather than shoving it sideways, and lift the bit completely off the metal when you reposition between letters. Dragging a live spinning bit across the surface between letters is how you get the stray scratch right through the middle of your finished piece. Practice some freehand loops on the back of the plate first, the same way you'd warm up before writing, so your hand gets the feel for how the tool tracks at low speed.
Step 4: Clean and refine the engraving before you polish
When the engraving is deep enough to your eye, stop and look at it under good light before you reach for the polish. Turn the plate and catch the light across the grooves; you will see the burrs, the little raised ridges of metal the bit pushed up along the edges of the cut. These have to come off or they will catch the polish wheel and smear compound into your lettering. A light pass over the burrs with the same bit at low speed, barely touching, cleans the edge without widening the groove.
Then wipe the engraving clean with a dry cloth or a quick blast to clear the metal dust out of the grooves. This is not cosmetic. If you polish with dust packed in the lettering, the compound will lock it there and dull the whole groove. A clean, dry groove is what gives the engraving its dark, legible contrast against the polished surface, the way a hand-engraved plate is supposed to read. This is also the last moment to check for any jog in a letter you want to redo, because once the polish goes on, the surface is sealed to rework.
Step 5: Polish in stages, coarse to fine, for a mirror finish
Polishing is where people expect the rotary tool to fail and where it shines, if you understand the sequence. A mirror finish does not come from one wheel and a prayer. It comes from working through grits, coarse to fine, the same way you'd sand wood before finishing. Felt bobs are the workhorses here, wool and muslin wheels for the flat work, and they cut only as fast as the compound you load them with.
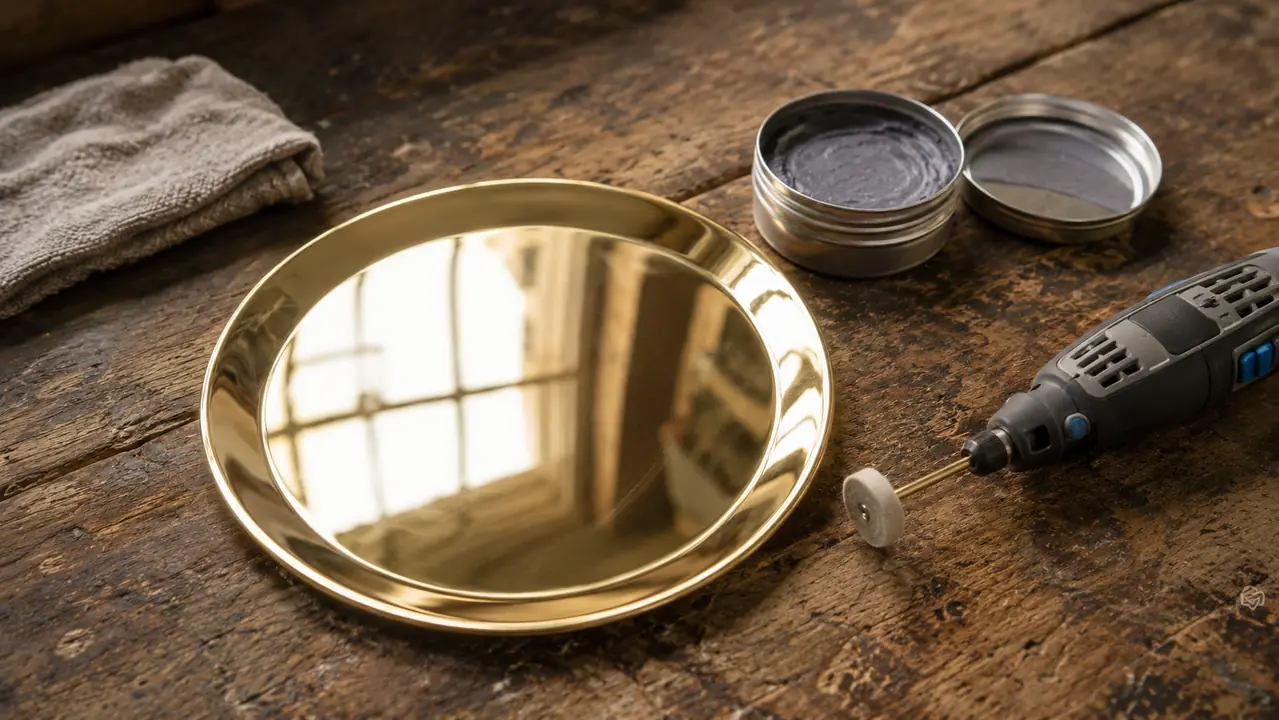
Assemble the polishing compounds in the traditional order: a brown or gray coarse compound first to remove the scratches left by a light sanding, then a white or red intermediate, and finally the green or blue finest compound that brings out the deep mirror. Load a little compound onto the felt bob, run the tool at a medium speed, and work the surface in smooth, overlapping strokes, turning the piece as you go so no single spot gets the heat. Keep the bob moving; holding it still in one place creates a hot spot that discolors the metal.
Wipe the compound off with a clean cloth between grits, because dragging coarse residue against a near-finished surface re-scratches it. Move through each stage until the prior marks disappear, then step finer. The last stage, the green finest compound on a clean felt bob, is what turns a nice shine into a mirror. Finish by buffing the surface one final time with a soft clean cloth and no compound to lift the last film. The result on brass or copper is a surface you can read your reflection in, with a crisp dark engraving standing off it. That combination is the whole reason to learn this craft.
What Else Helps a Rotary Engraving and Polishing Job
A few cheap allies turn a good result into a great one. A small bench vise or a set of clamps holds the work steady and frees both hands for guiding the tool, which is half the battle. Layout fluid and a fine scribe mark a clean, accurate pattern on dark metals where a pencil does not show. And a set of spare carbide bits is worth keeping on the shelf, because a dull engraving bit is the quiet saboteur behind every wobbly, shallow line; when the cut starts to skate instead of track, swap the bit before you blame your own hand.
Compound selection matters more than most people expect, so buy a small three-grit polishing set once and it will outlast a lot of projects. For the two skills in this guide, one felt bob of each stage does nearly everything you will meet around the house, from a brass nameplate to a copper fixture to a steel tool you want to look loved. You do not need a buffing station on the bench. The rotary tool you already own carries the wheels, and the low speed settings on the 4300 are exactly what keeps the metal from scorching while you work.
If you are new to the tool itself, the full experience, how the 4300 holds up over a year of grinding, carving, and polishing, is covered in my long-term review. And if you are deciding between it and a much cheaper rotary tool, the comparison walkthrough shows where the Dremel premium actually buys you the precision these two jobs demand. Both are worth reading before you spend money on bits and compound.
You do not need a heavy hand or a bench grinder to engrave and polish. Low speed, light pressure, two passes per line, and compound worked coarse to fine are the entire difference between a scratch and a skill.
Take it from scrap to a plate you're proud to hang
Grab a scrap coin or a leftover piece of brass, run these five steps once, and you'll have the basics that last a lifetime of tools and gifts. I've run this same Dremel 4300 on my bench for years, and the current price on Amazon moves around. Use the box below to check today's before you commit.
Amazon Check Today's Price on Amazon →